How to make virtualbox guest use its host’s internet connection and still have ssh access to the guest
Hi guys,
The title of this post can be misleading but basically the challenge I would like us to solve is pretty simple. There are situations where a guest OS on vitualbox will need to have Internet connection which is by default through the NAT interface. But that will limit your access to the client virtualbox frame which is a direct access to the guest machine. The IP assigned to the guest is not reachable by the host(since it’s in different subnet), so there is no way to connect to the guest machine using your favorite ssh client under NAT adapter.
Maybe if you are in an organization and IPs are assigned by a DHCP server, in that case if you choose to set a bridge adapter you would have your guest OS would be a node on the network. That also works but the downside of that is that if you have a laptop and wants to work on your guest at home, it might not be accessible.
Now that the problem statement is made let’s start working a really simple solution.Just in case you know about port forwarding, this issue can be solved using port forwarding. It means you can map on your machine some random port like say 8888 to the port 22 of the guest OS within virtualbox. I don’t particularly like port forwarding for personal reasons. I like things to be neat, for example, if I wanted to use an apache2 server on the guest, I will have to do another port forwarding for that purpose, the same for mysql so on. It will be very trying to map every port I would like to work with. This post assumes working knowledge with VirtualBox but we will go over some basics of adding an Ubuntu server Guest to our VirtualBox. In this tutorial my own host OS is an Ubuntu Desktop v14.04.
Creating the Virtual Machine
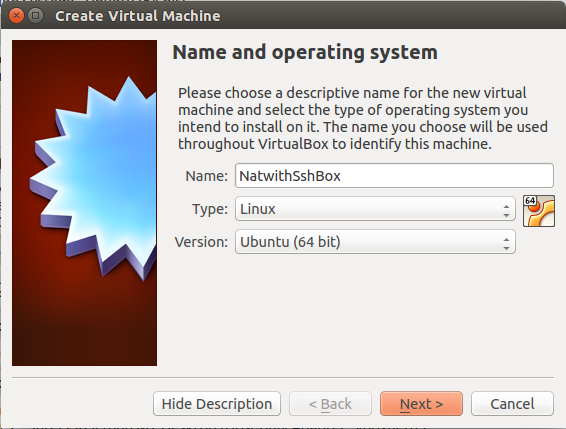
Let’s create our ubuntu server guest machine. In virtualbox let’s click on the new button and set the parameters shown as below, of course you are free to use any name of your choice.
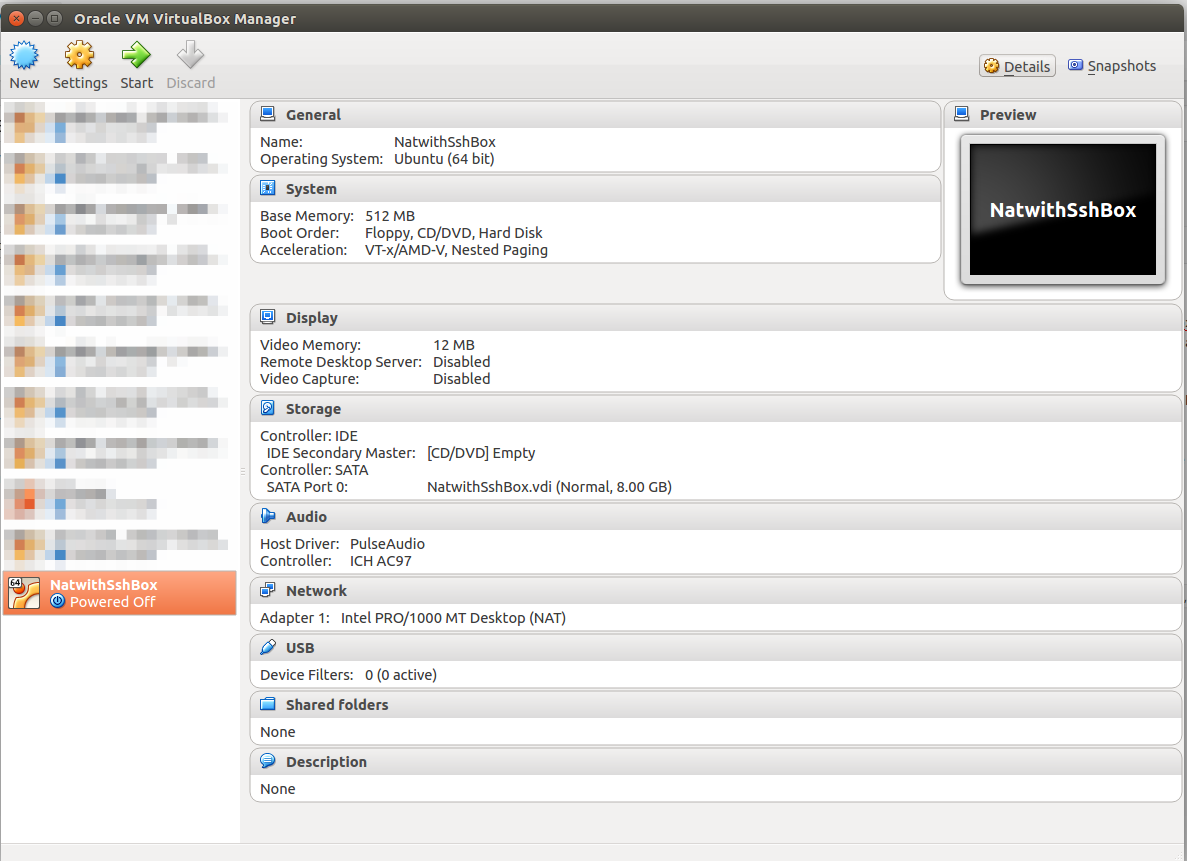
After the screen above, its find to leave everything else to default and click on next till the end of the wizard. When the wizard ends one should have panel similar to the one below
Configuring HostOnly Network
This part is a bit ahead of what we are heading to but it’s absolutely necessary for the rest of the tutorial so I will take some time to explain why step.
In virtualbox one has the opportunity to adjust the network adapter for the guest OS to suit one’s need. Just like in real network for physical machines ,there are numerous setup configuration to consider. Virtualbox ships with the following adapters:
- NAT: Makes your host act like a router
- NAT Network
- Bridged Adapter: Makes your guest have an IP and live on the network as regular physical node on the LAN
- Internal Network: Makes all guest nodes talk to each other in a separate internally set network
- Host-Only Adapter: This is a sort of consensus between your host and your guest. This allows only your host to access the guest
- Generic Driver: Never tried this , looks like the name implies that it’s for generic stuff
NAT as explained earlier is the default and makes your guest rely on its host’s internet connection etc behind the host. In order to connect to the guest via ssh for any other reasons, we will need to add another adapter to our guest and that adapter as its name implies is hostonly adapter. Before we can actually use the adapter it has to be setup properly through hostonly network settings.
Let’s go to File > Preferences > Network > Host Only Network tab and click on the plus sign button to create a network as shown below. it’s name is automatically vboxnet0.
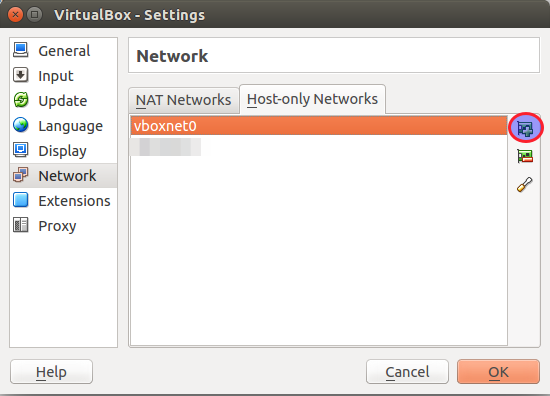
To configure this network let’s click on the pen/pencil button to edit the network. This shows 2 tabs windows One with Adapter label and the other DHCP server lable. Let’s go to the DHCP server and edit it to look like the image below.

We are done setting our DHCP server. What we have done in simple terms is to instruct our HostOnly DHCP server is to assign IPs starting from 192.168.56.101 to 192.168.56.254.
Configuring Guest Network
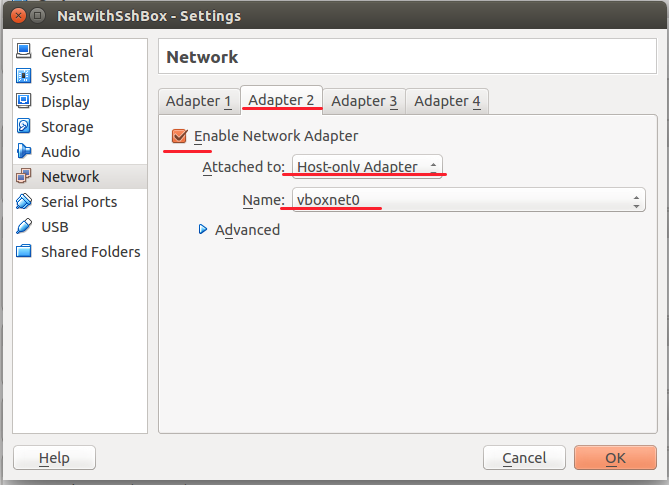
We can now move on to setting the networking of our guest OS. Since the default network adapter is NAT, we will leave it as such and create a second network adapter and assign the vboxnet0 created earlier to it. See the image below
Activating the Hostonly adapter from within guest OS
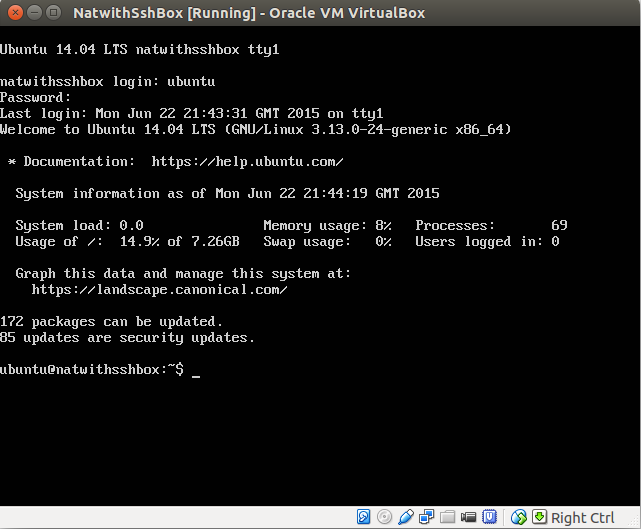
Since the title of the section depicts it, it suggests that the guest OS is setup and running. In case that is not done kindly add your os image file into the storage section of the virtual machine and start it till the setup is completed . Do not forget to add ssh-server package while installing. My username is ubuntu so after logging in my box it look like shown below:
Let’s check the networking status of the guest OS. This can be done with the command below
[bash]
$ifconfig
[/bash]
the result is shown below

Let’s proceed to activation of the other adapter
[bash]
//backing up the existing interfaces file
$ sudo cp /etc/network/{interfaces,interfaces.bak}
$ sudo nano /etc/network/interfaces
[/bash]
With the file opened with nano editor let’s append it with the following, save it and close the editor (ctrl+x)
[bash]
auto eth1
iface eth1 inet dhcp
[/bash]
let’s bring the adapter up with the following commands and check on the networking status of the box
[bash]
$ sudo ifup eth1
$ sudo ifconfig
[/bash]
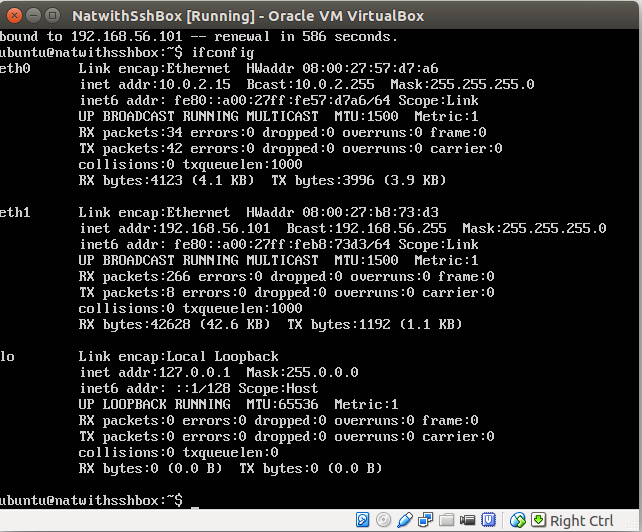
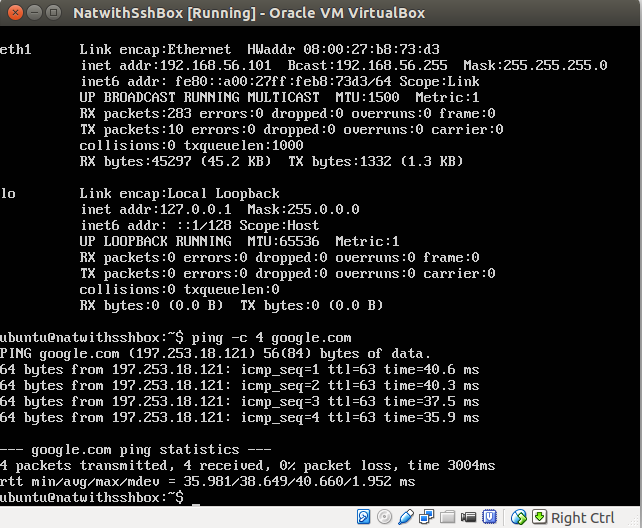
As we can see we have the IP 192.168.56.101 provided by our vboxnet0 network. Let’s test some internet connectivity.
[bash]
$ ping -c 4 google.com
[/bash]
Assuming the ssh-server is installed let’s connect to our box using the command:
[bash]
$ ssh [email protected]
[/bash]
As you can see we have a way of using NAT internet connection while we can have other systems or tools connected to the guest via ssh. This process took some amount of time to finish while this is a 2 minute job when using vagrant for example. Maybe the next tutorial will be about same thing with vagrant 😀
Voila!! you are set
Thanks a ton… Was breaking my head for half a day with it.
Hello Gowrish,
I am glad it helped 🙂
Thanks. May you give a detailed tutorial for android-x86 (instead of Ubuntu) installed in VBox for beginners?
I use FreeGate to open blocked websites in host Windows and need Android-x86 guest on VirtualBox to use uncensored internet from host Windows.
Hello Sushiant,
I never used android-x86 before but will have a look at it some day. Maybe the solution you are looking for is already somewhere on the net. That might be faster for you to get going
Dude ! Fought 1 day, finally got the solution. Thank You superb…. 🙂
Nice one there!! I will keep writing stuff that could be useful to people. Thanks for the feedback. I appreciate it
Hi Joseph,
you made my day. I have been struggeling with this issue for three days but you post helped me to solve it. Thank you! Well written that it lead me to the path to solve it.
My setup is host MacOS and guest on a virtualbox 5.1.26 Ubuntu-Server 16.4.
I had to replace eth1 with enp0s8 on my setup; I fugured by reading this: https://askubuntu.com/a/876579
I stumbled a little bit over the DHCP settings you describe. I first expected them to be a setting in a specific virtualbox image. But these are global settings of the virtualbox. One might stumble upon that.
By the way: your company and colluges all look very nice 🙂
Greetings from the Netherlands: https://goo.gl/maps/LevjAcYjYSw
Dirk
Thanks this helped and thanks for sharing MacOS related tweaks
Thanks Man ..Love you..you made it look and implement so simple 🙂
Ha ha ha ha thanks for you kind words. I am encouraged to do more
Thanks man, really helped a lot!!
Glad this helped
Hi ,
Your post says that
Preferences > Network > Host Only Network tab and click on the plus sign button to create a network as shown below. it’s name is automatically vboxnet0. >
I am using virtual box 5.6 now and not able to find how to put/configure DHCP server IP details.
Can you please help.
hello i have installed virtual machine linux on windows.but i am not getting internet access in virtual box….as my virtual box mac address is regestered by admin .so please help me to solve this problem.
thanks